The Giraffe made a nice case for his KIM Uno

The Giraffe made a nice case for his KIM Uno
The Giraffe thinks, Software developing takes 20% of the time spent, to setting up the toolchain.

The Giraffe found these many cables very annoying.

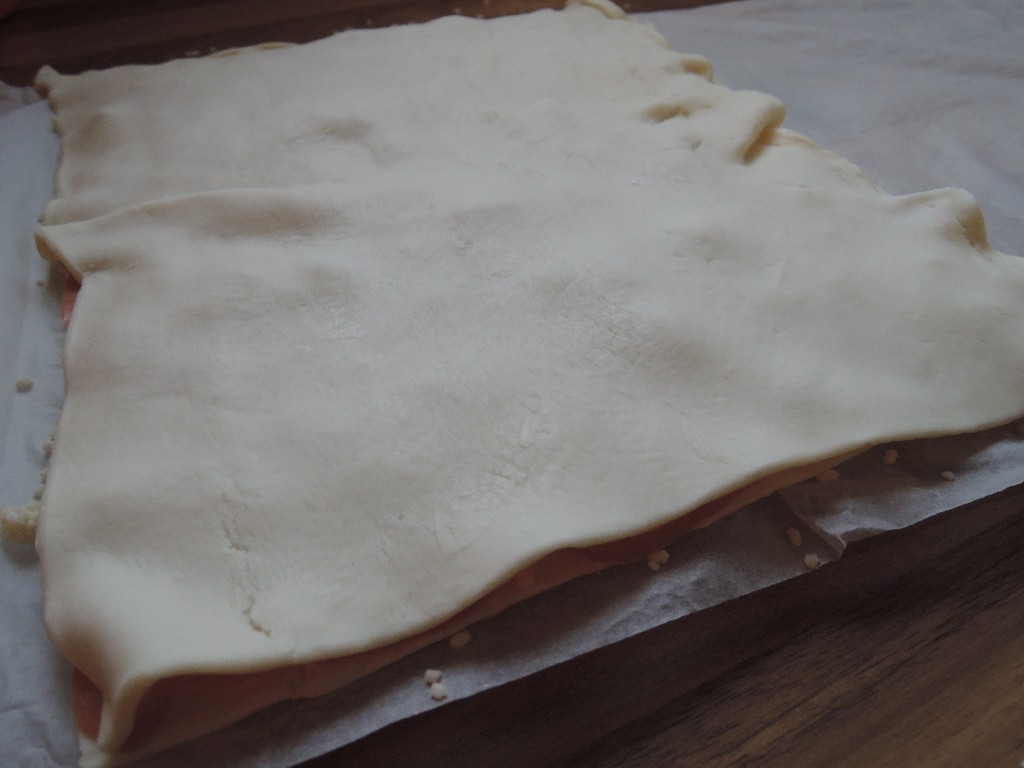
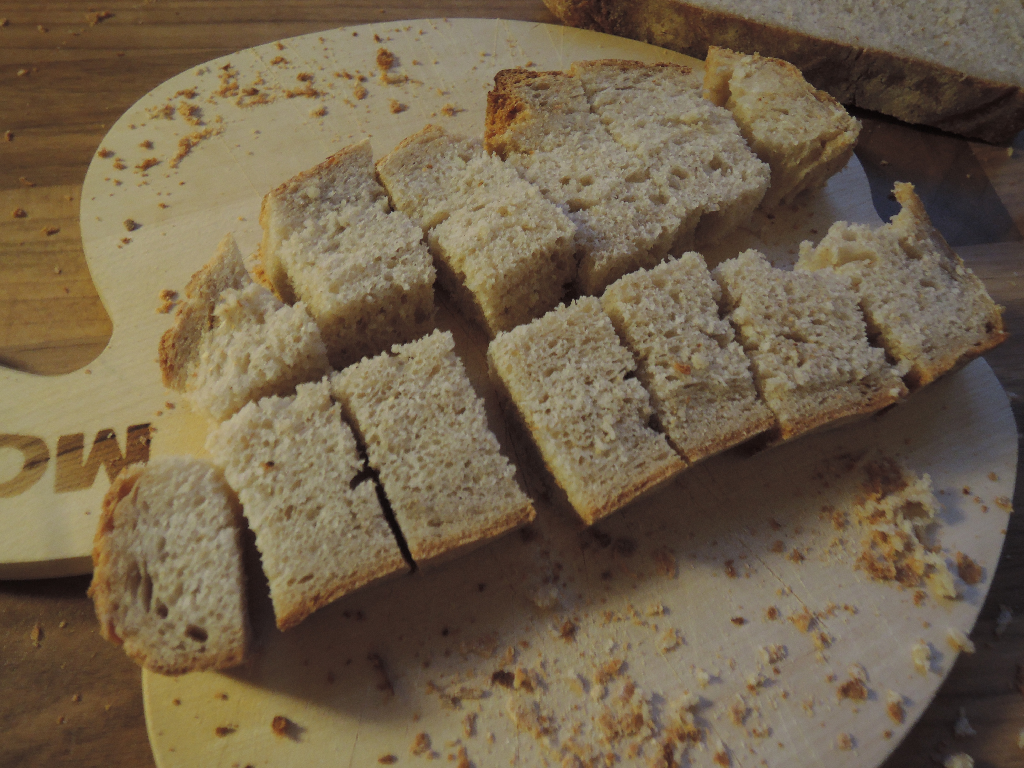
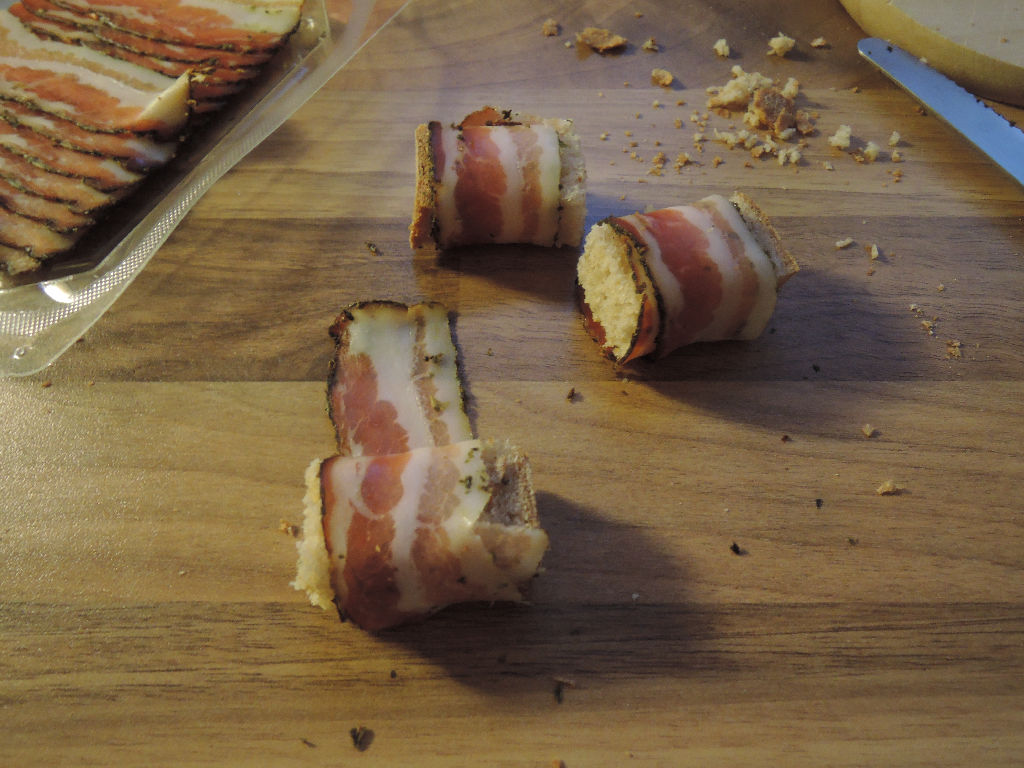
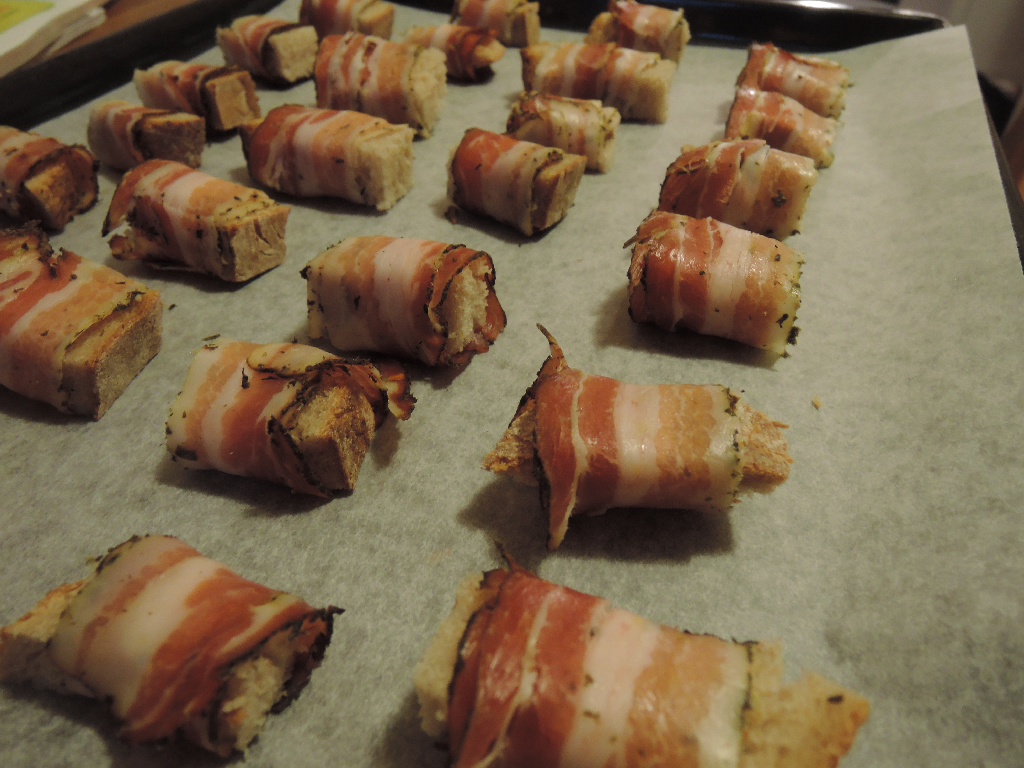
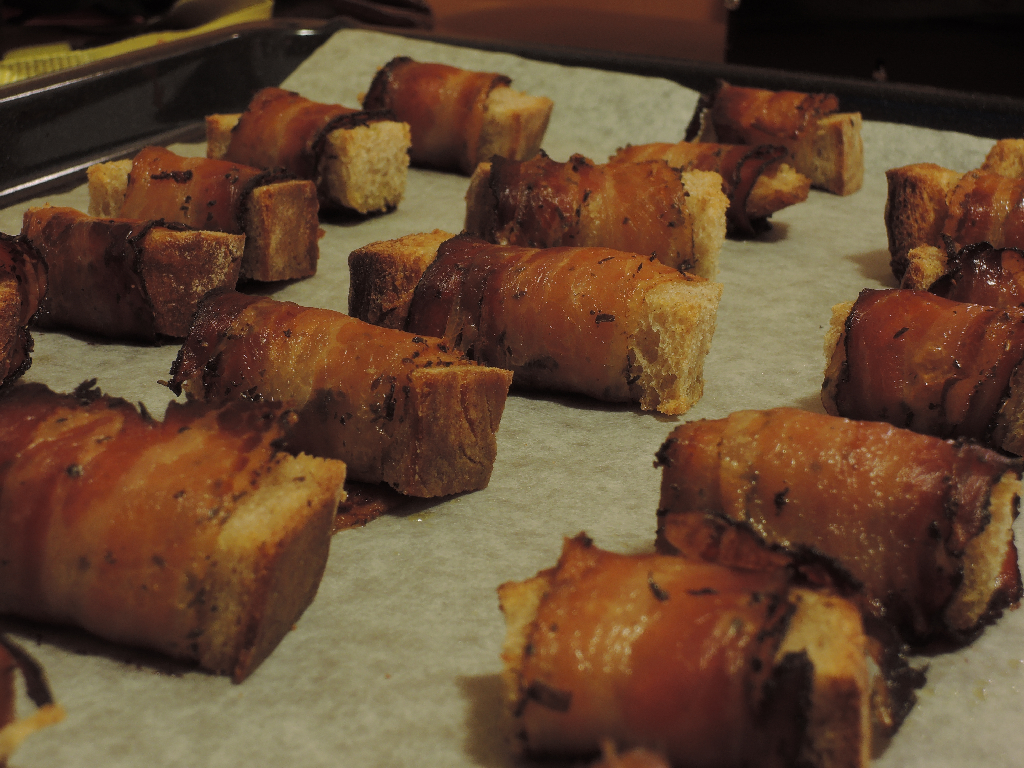
The cheese serves as glue, holding the layers together. If you like a <<multilayer ham pillow>> don’t forget to spread additional cheese between them.

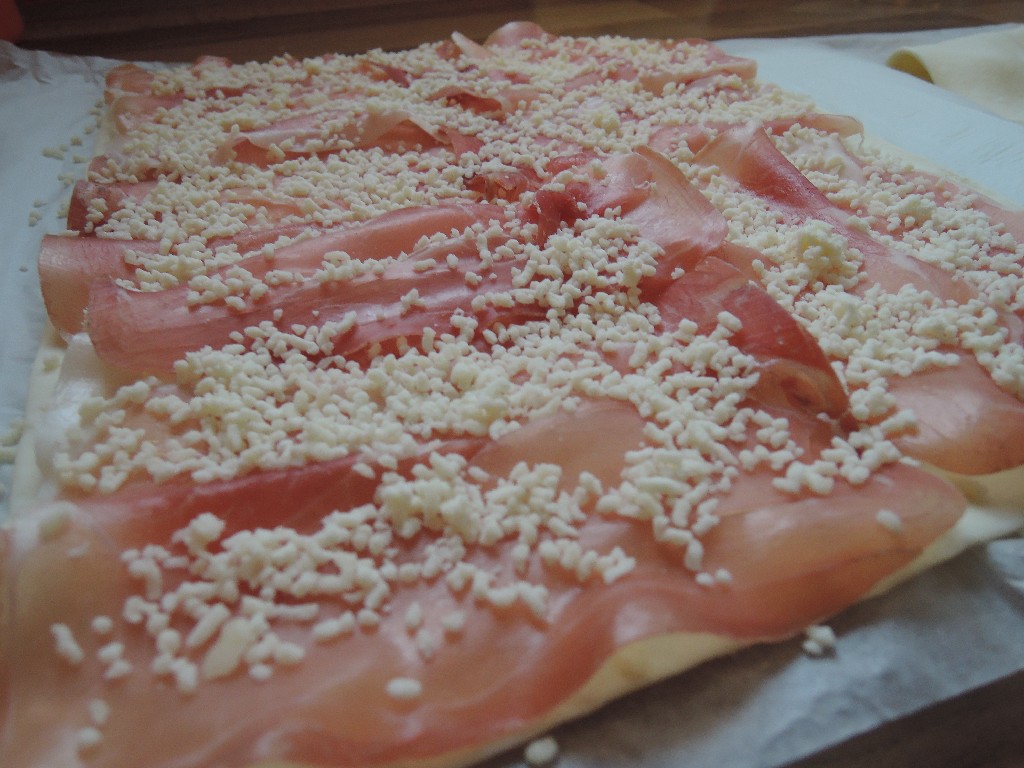


Just one thing to say: Use smoked bacon, not these breakfast rasher rubbish.
Thanks to the long-term experience in building cars, the engineers of my Ford decided to optimize the luggage boot lighting down to one, sad, tiny winy micro light bulb. For further optimisation they also decided to put it to one side of the boot, where its hidden by my stuff with guaranty.
I decided to correct this mistake of the car builders and walked in to my local IKEA Store where I could choose from a variety of different LED Lamps.
My Plan: One line of stripes on the inner side of the trunk lid to illuminate the ground if the door is opened and some spots for the ceiling.
Shortly I found a package containing 3 stripes, the 12 V power plug included, which I am not going to use anyway.
Just had a package of 4 spots in my hands, also rated for 12 V, as I saw single packages of spots for a lower price each than in the multi package. I decided 3 Spots are anyway enough and so changed to the single packages.
At home I unpacked my haul: Stripes where al-right but the spots….damn…24 V rated instead of 12 V. Of course I already tossed the packages and bill away so a return was not possible.
What does an electrical engineer in such a case: “Don’t turn it on, take it apart” as Dave Jones would say.
Inside the spot, more electronics than I expected: 2 Tranis, 3 Resistors and of course the LED.

A little bit of investigations and reverse engineering reveals this constant current circuit:

After a little bit of maths I came to the conclusion of just having to Switch R2 to 4.7 kΩ. After the mod, I applied 12 V to the Circuit and look….nothing :-/.
Time to swap to the DMM and after some measurements the cause was found: The LED seems to have a forward voltage of 18 V…damn, again.
So what’s next? Board supply is 12 V LED itself has 18 V, the simplest thing I could do was to replace the LED. For the best efficiency, a LED with a forward voltage close to 12 V would be nice. But in the Internet I just found LEDs which had either the wrong footprint or where twice the price of the whole spot including the power plug. Thankfully I found at least a few of 3 V LEDs laying around. But to make them as bright as possible, more current is needed, which also means more power drop for Q1. As a tread of brightness and power dissipation I changed R1 to a Value of 15 Ω, which means for Q1 about 320 mW where its maximum rating is 350 mW.
The installation in to the car took a couple of hours, thanks to the idiotically way how the covers and ceiling is mounted by the car builders (please go to the hell for these stupid push in clips which you never can’t get back out without damaging it or hurt yourself, please). However I am very proud of the end result and the brightness of the spots is also just right..
@Ford: That’s the way the lighting of luggage boot has to look like!


The Giraffe got a competitor.

My beloved Pfaff 1222E sewing machine started to slow down every few stitches. I was able to hear the motor noise, when it had to choke through that position.
The Giraffe investigated the machine and found a crack in the Cam Stack Gear (calls in German <<Kurvenblock>>). The wider distance between the two tooth caused by the crack, was the cause of the problem.
Thankfully, a specialised sewing store was able to order a spear part, so I managed to replace the broken gear.
…Really, this is simply gorgeous! The machine is about 35 years old, still works AND YOU STILL CAN GET SPARE PARTS!
No words about what I’m thinking about machines from China…Nihao!


To slip out the gear block, you have to lift slightly the whole automatic mechanism module. To do this, you maybe have to remove the screw (16). During the re-assembly, carefully make sure the marked splints in the metal bars in the picture below found their correct positions.

Update:
The red marked 4 screws are holding the whole assembly down. After loosen them you have to sligtly lift the whole assembly. Then remove the screw indicated by the green arrow, to remove the stoper thingy. The gear should slide from the shaft afterwards.
However, bringing all together is a little bit fiddly!!
In the sketch above the parts which should match up are highlighted.
You may want to use a flash light to locate the marked metal rods under the assembly.

The Giraffe rediscovered an old friend. Let’s call it the Piraffe.

For a knight tournament, I decided to sew adequate cloths…namely a shirt and trousers.
On the internet I found a few simple basic templates for my project:
I took the shirt idea from [Corvin] http://home.arcor.de/Warlock0/Leitfaden%20zur%20ersten%20Gewandung.pdf, on page 7 and the trousers from here: http://www.weltdeslarp.de/jalindro/hose.html.
The fabrics I found in a local branch of a big Swedish furniture store. They offer a lot of different fabrics, charged by weight(!), self service and reasonable priced. For the shirt I found a linen looking cotton fabric and for the trousers….yes I think it’s proposed for curtains, but looks also great for medieval trousers.


